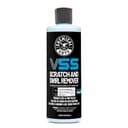
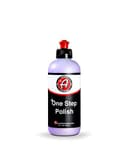
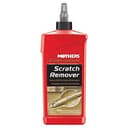
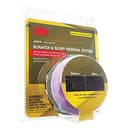
The fingernail test: what can actually be fixed
Before buying anything, run a fingernail gently across the scratch. If your nail glides over it, the defect is in the clear coat and a product on this page can remove or greatly reduce it. If your nail catches, the scratch has gone through the clear coat and possibly into the base coat — no polish will fix that, because there is no paint left to level down to. That is touch-up or bodyshop territory.
Swirl marks specifically — the halo of fine circular scratches you see under a street light or direct sun — are almost always shallow clear-coat damage from washing and drying. Those are exactly what a one-step corrects, and exactly what will come straight back if you do not fix how you wash the car.
How to choose
Abrasive or filler
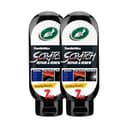
The tell is usually durability language and price. Genuine abrasive products talk about cut, pads and machine application; filler-heavy products talk about “renew”, “repair” and instant results, cost very little, and are designed for hand use. If the scratch reappears after two or three washes, you bought fillers. That is not a scandal — it is just worth knowing before you conclude the product failed.
Hand or machine
By hand you can meaningfully improve one scratch on one panel. You cannot correct a whole car’s swirling — there is no way to sustain the consistent speed and pressure abrasives need across that area. If the whole car is swirled, the honest answer is a dual-action polisher, and the products here work considerably better on one.
Paint type
If your car is older, restored, or has single-stage or lacquer paint, check the product is rated for it. Most modern compounds assume a hard clear coat over base coat; on soft single-stage paint they can haze badly. Adam’s is unusual in stating its compatibility explicitly, which is why it takes that slot here.
Using one properly
Wash and decontaminate first — polishing over embedded grit adds scratches faster than it removes them. Work in the shade on a cool panel, in small sections, with a clean applicator or pad. Build with passes rather than pressure: several slow, overlapping, light passes remove more and risk less than one hard one.
Wipe the residue off with a clean microfiber and inspect under a bright light from a low angle before deciding to repeat. It is easy to keep going out of momentum and remove far more clear coat than the defect warranted.
Then protect the paint. A one-step strips whatever was on the surface, so finish with a sealant, wax or spray coating. And fix the cause: a proper wash mitt, the two-bucket method and a good drying towel are what stop you doing this again next year.