Polishing & Paint Correction
The correction step — dual-action polishers and compounds that remove swirls safely — with the beginner-safe picks called out.
Polishing is the step that actually removes defects rather than hiding them. A wax or glaze fills swirls temporarily; a machine polish levels a microscopic amount of clear coat to erase them for good. It’s the most satisfying part of detailing and the one beginners are most afraid of — usually because they’ve seen someone burn through paint with a rotary buffer.
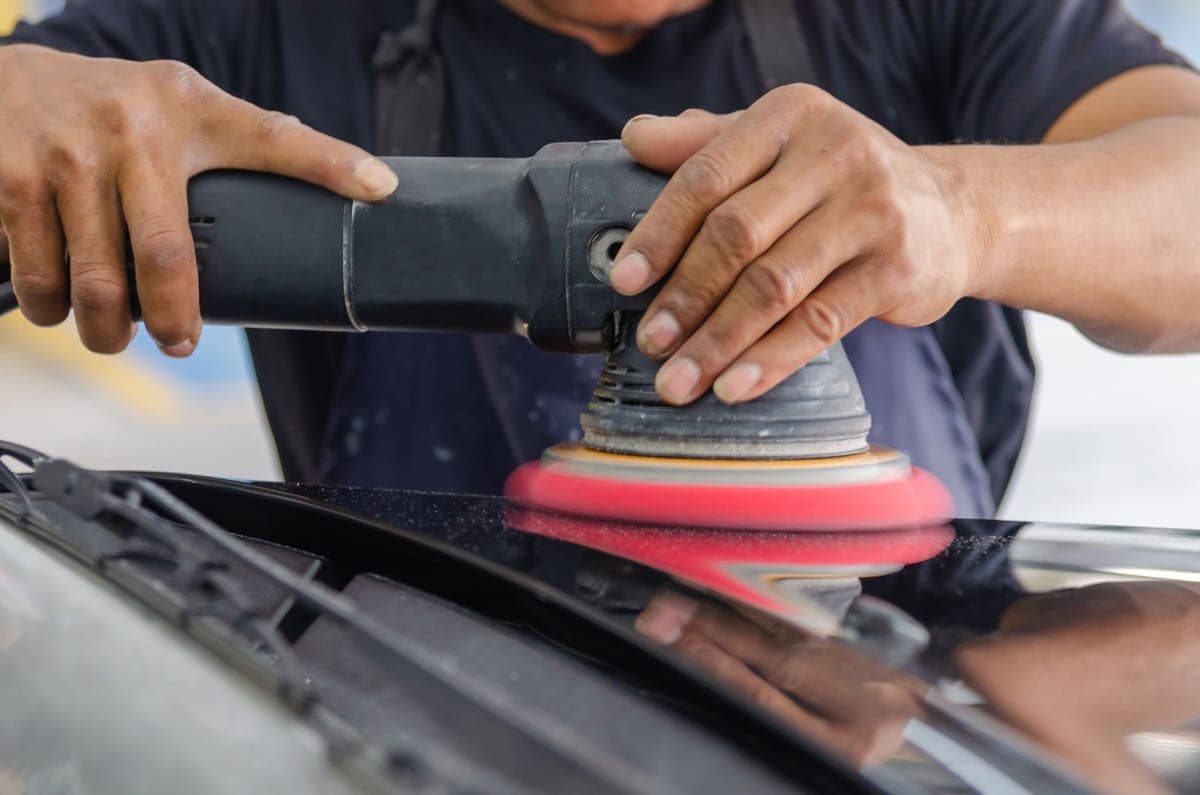
The good news: the tool that fixed that fear already exists. A dual-action (random-orbital) polisherspins and orbits at the same time, so it’s very hard to generate the heat that burns paint. It’s slower than a rotary in a pro’s hands, but it’s the safe way for a first-timer to remove swirl marks at home. This section is about picking that tool, understanding the pads and polishes that do the cutting, and knowing when correction is worth doing at all.
Everything in Polishing
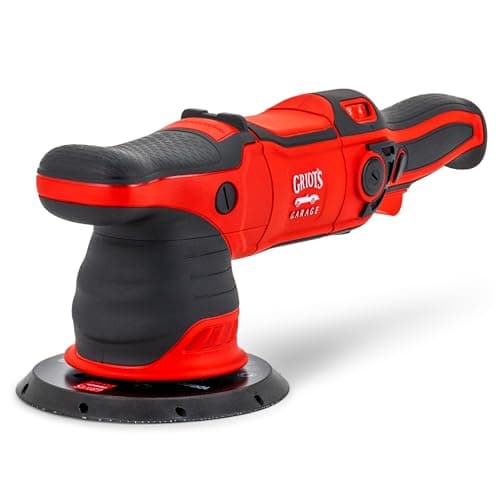
Best Dual-Action Polisher
Beginner-safe dual-action polishers compared on throw, power and kit — the tool that removes swirls without burning paint.
Our top pick
Griot's Garage G9 Random Orbital Polisher
$179.99 · View on AmazonPrice as of October 16, 2026. #ad How we’re funded
How to Remove Swirl Marks
What swirls are, why a dual-action polisher is the safe way to cut them, and the step-by-step for a first-timer.
Paint Correction: A Beginner's Guide
Cut, polish and refine explained in plain English — what each stage does and the gear order that gets there.
Polisher vs Buffer: DA vs Rotary
Dual-action polisher or rotary buffer — which is safe for a beginner, which cuts faster, and why the wrong one burns paint.
How to Use a Dual-Action Polisher
Set up pads, prime the polish and work a panel the right way — the beginner-safe method for cutting swirls with a DA.
Compound vs Polish: What's the Difference?
Cutting compound or finishing polish: what each one removes, the order they go in, and which your paint's defects actually need.
How to Remove Scratches From a Car
The fingernail test that tells you whether a scratch will polish out, and the safe DIY fixes for the ones that will.
How to Remove Water Spots From Car Paint
The three kinds of water spot, why one of them etches into the clear coat, and how to remove each without damaging the paint.
Best Polishing Compound
Cutting compounds and finishing polishes compared - what removes a defect, and what only hides it.
Our top pick
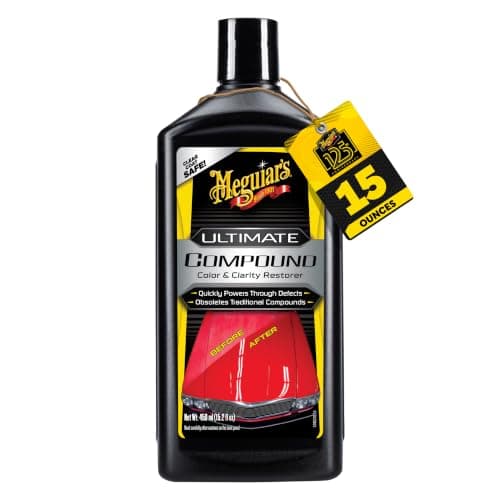
Meguiar's Ultimate Compound
$13.97 · View on AmazonPrice as of October 16, 2026. #ad How we’re funded
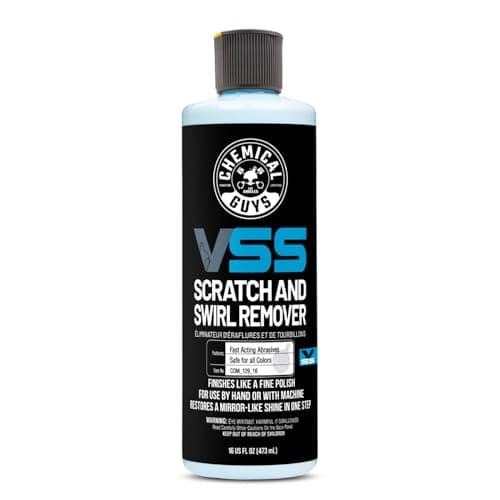
Best Swirl & Scratch Remover
One-step swirl and scratch removers compared - what genuinely corrects paint and what only fills it.
Our top pick
Chemical Guys VSS One-Step Scratch & Swirl Remover
$21.97 · View on AmazonPrice as of October 16, 2026. #ad How we’re funded
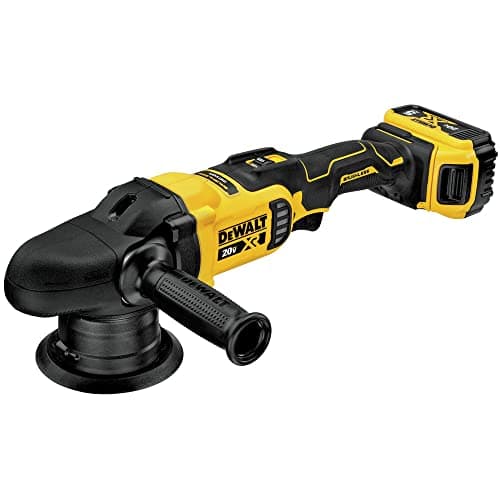
Best Cordless Car Polisher
Cordless polishers compared on battery platform, action type and honest runtime - the spot-correction tool, not a whole-car machine.
Our top pick
DEWALT 20V MAX XR Cordless Random Orbit Polisher Kit (DCM848P2)
$554.99 · View on AmazonPrice as of October 16, 2026. #ad How we’re funded
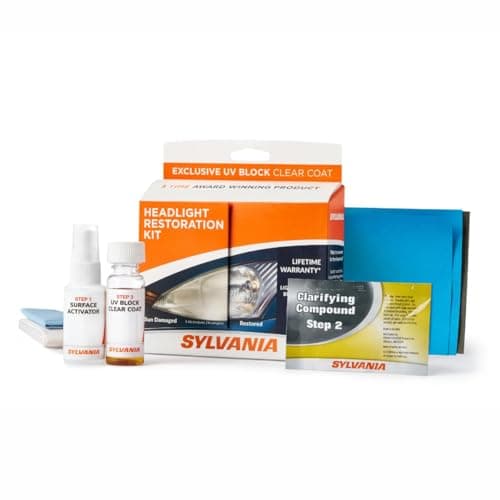
Best Headlight Restoration Kit
Headlight kits compared on method and whether they seal - because a kit that skips UV protection yellows again fast.
Our top pick
Sylvania Headlight Restoration Kit
$22.75 · View on AmazonPrice as of October 16, 2026. #ad How we’re funded
Griot's G9 vs Porter-Cable 7424XP
The modern 9 mm long-throw machine against the budget classic, compared on the specs both makers publish - and on the one figure Porter-Cable does not.
Our top pick
Griot's Garage G9 Random Orbital Polisher
$179.99 · View on AmazonPrice as of October 16, 2026. #ad How we’re funded
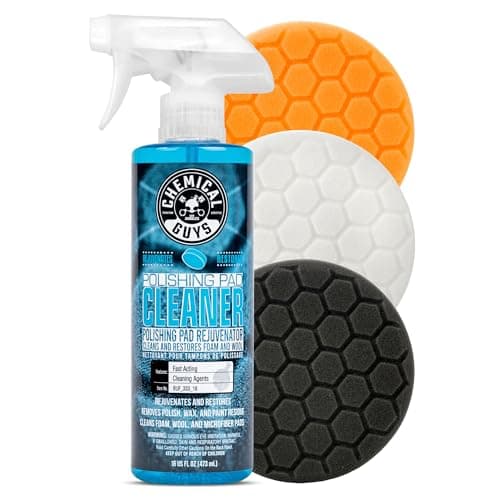
Best Polishing Pads
Pads are half of a correction system and the half buyers under-think. Sets ranked on whether they cover a real grade range, and whether the diameter fits your backing plate.
Our top pick
Chemical Guys Hex-Logic Buffing Pad Sampler Kit with Cleaner (6.5 in, 4-Piece)
$39.99 · View on AmazonPrice as of October 16, 2026. #ad How we’re funded
How to Restore Headlights
Why lenses go yellow, the wet-sand-polish-seal order that fixes it, and the step most people skip that makes the job last a year instead of a month.
Meguiar's Ultimate Compound vs Ultimate Polish
Two cheap bottles with almost the same name doing opposite jobs. One removes defects, one only adds gloss - and most people buy the wrong one first.
Our top pick
Meguiar's Ultimate Compound
$13.97 · View on AmazonPrice as of October 16, 2026. #ad How we’re funded
Can You Polish a Car by Hand?
Yes - for spot repairs, single scratches and the gloss step. No, for a whole car, and the limit is consistency rather than strength.
Best Detailing Lights
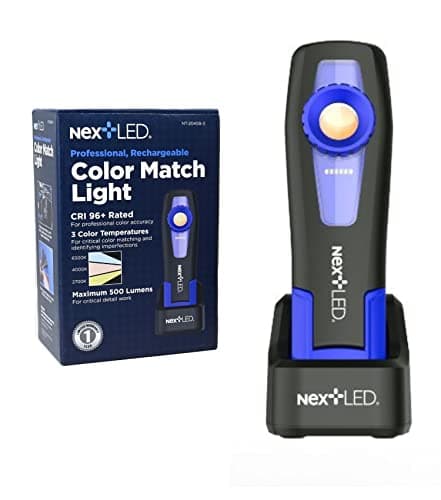
A detailing light is a measuring instrument, not a lamp. Inspection and color-match lights ranked on published CRI and Kelvin figures - and why the brightest one finds the fewest swirls.
Our top pick
NextLED NT-2040B-3 Handheld Color Matching Auto Detailing Light
$59.99 · View on AmazonPrice as of October 16, 2026. #ad How we’re funded
How to get into machine polishing
Start with the machine. A dual-action polisher is the safe entry point; the beginner-friendly kits even include pads and polishes so you can start the day it arrives. Then learn the least-aggressive-first principle: always test the mildest polish and pad that will do the job before reaching for a heavier compound. Our paint correction guide explains the cut-polish-refine stages, and how to remove swirl marks walks the whole process step by step. Working away from an outlet, or only fixing one panel? The cordless polisher picks cover that case and the battery-platform question that usually decides it.
Decontaminate before you polish
Polishing drags a pad across the paint, so any bonded grit still on the surface becomes an abrasive. Always clay-bar the paint first so the pad is only working the clear coat, not grinding in contamination.
Polish, then protect
Correction and protection are a pair. A ceramic coating locks in whatever is underneath it, so the ideal order is: wash, decontaminate, polish out the swirls, then coat the flawless finish. Coating over swirls just seals them in.
Frequently asked questions
Is a dual-action polisher safe for beginners?
Yes — that's the whole point of the design. The random orbital action makes it very hard to build the heat that burns through clear coat, unlike a rotary buffer. Test a small spot first, keep the pad flat, and avoid dwelling on sharp edges where the clear coat is thin.
What's the difference between cutting and polishing?
Cutting uses a more aggressive compound and pad to remove deeper defects, and it leaves a slightly hazy finish. Polishing follows with a milder combo to refine that haze into gloss. A light one-step polish combines both for minor swirls.
Do I need to polish before a ceramic coating?
For the best result, yes. A coating magnifies and seals in whatever is under it, so polishing out swirls first means the coating goes over a flawless surface. On a newer car in good shape you can sometimes skip it, but never skip the wash and decontamination.
Sources
- Griot's Garage — How-To: Polish — Machine polishing removes swirls, light scratches, water spots and oxidation; work small sections and start least-aggressive (accessed July 18, 2026)